Creating a new database
The workbench does not provide a dedicated space for storing your data; you should connect it to an existing SQL-based database or data store.
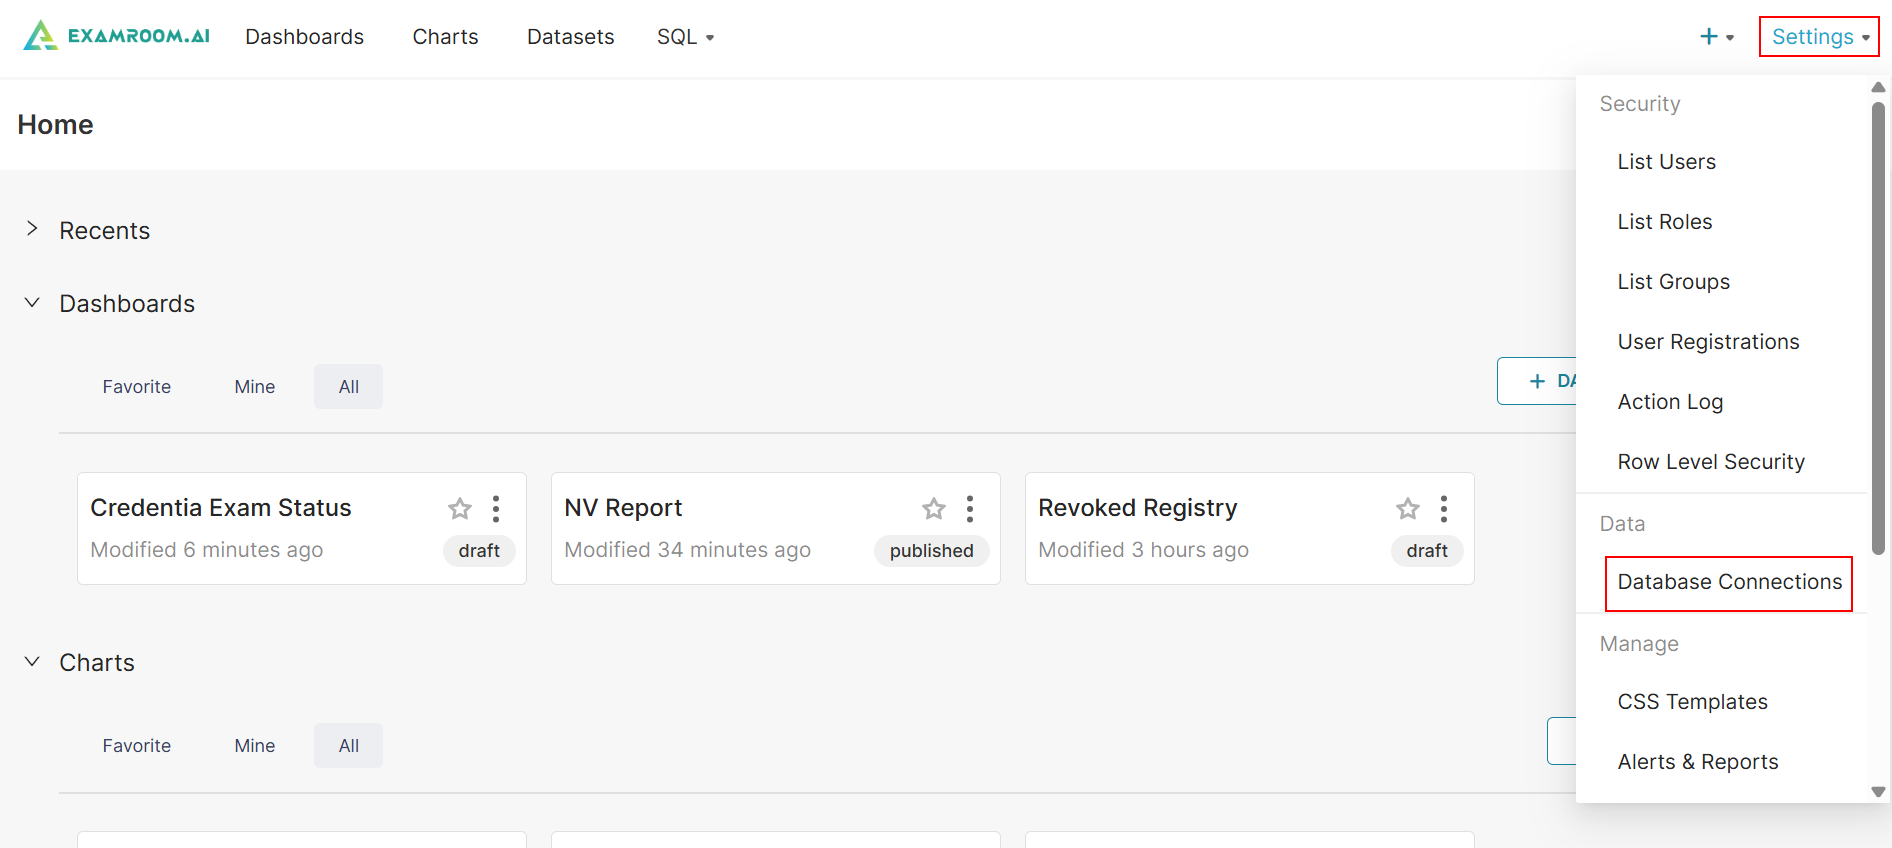
- Click Setting in the top right corner.
- Click Database Connections under the Data section.
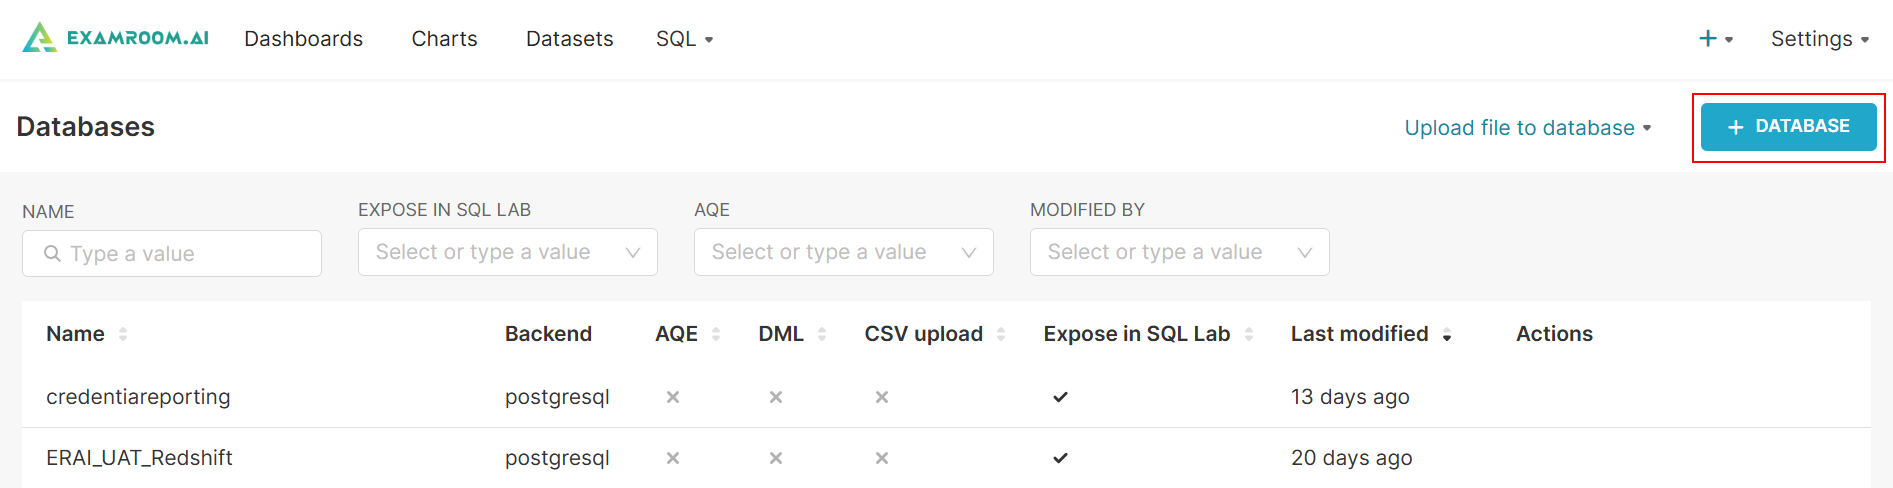
- Click +DATABASE to create a new database.
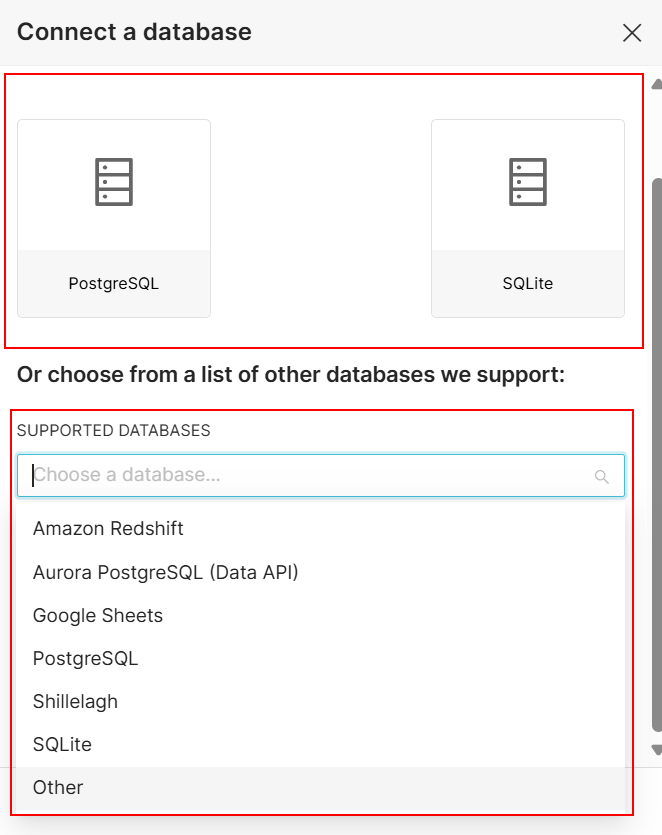
- Select a database to connect or click Supported Databases and choose from the dropdown list.
- Common database types include,
- PostgreSQL: A powerful, open-source relational database system commonly used with Workbench for analytics.
- SQLite: A lightweight, serverless database used for small-scale data storage and quick analytics in Workbench.
- Other databases we support include,
- Amazon Redshift – A cloud-based data warehouse solution optimized for big data analytics.
- Aurora PostgreSQL (Data API) – A serverless PostgreSQL-compatible database with API access via AWS Aurora.
- Google Sheets – Use spreadsheets as a lightweight data source for querying and reporting.
- PostgreSQL – An open-source, feature-rich relational database widely used for structured data.
- Shillelagh – An SQLite-based connector allowing you to query various APIs and services using SQL.
- SQLite – A self-contained, serverless, file-based SQL database engine ideal for testing or lightweight use.
- Other – Allows manual configuration of a custom or unsupported database connection.
- Common database types include,
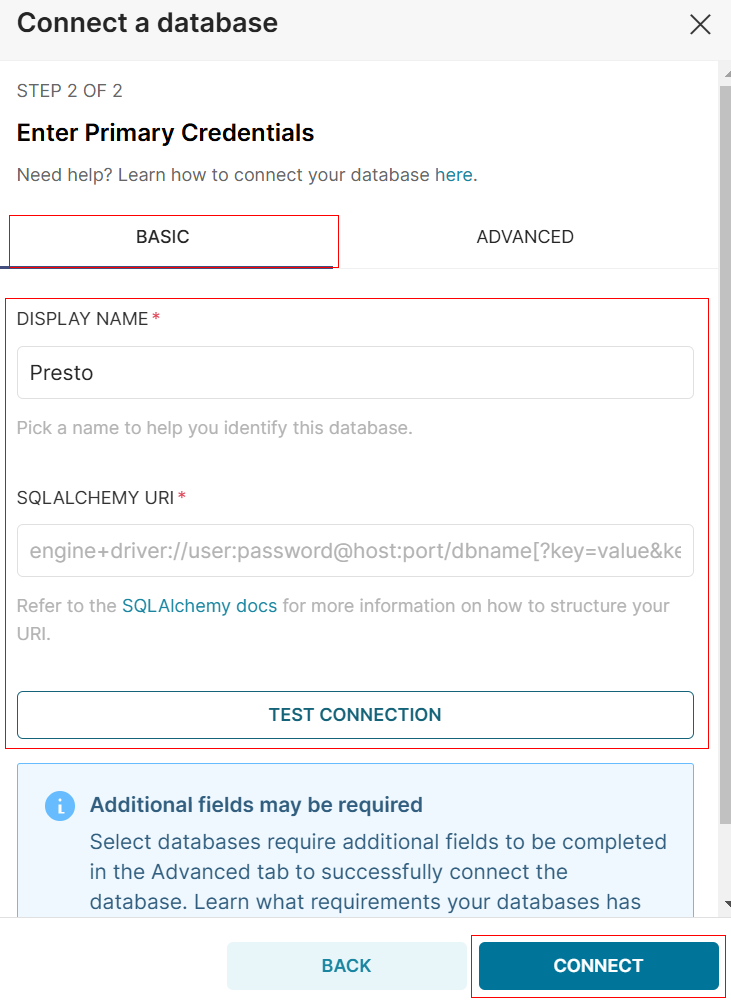
- Click SQLite from the resulting model.
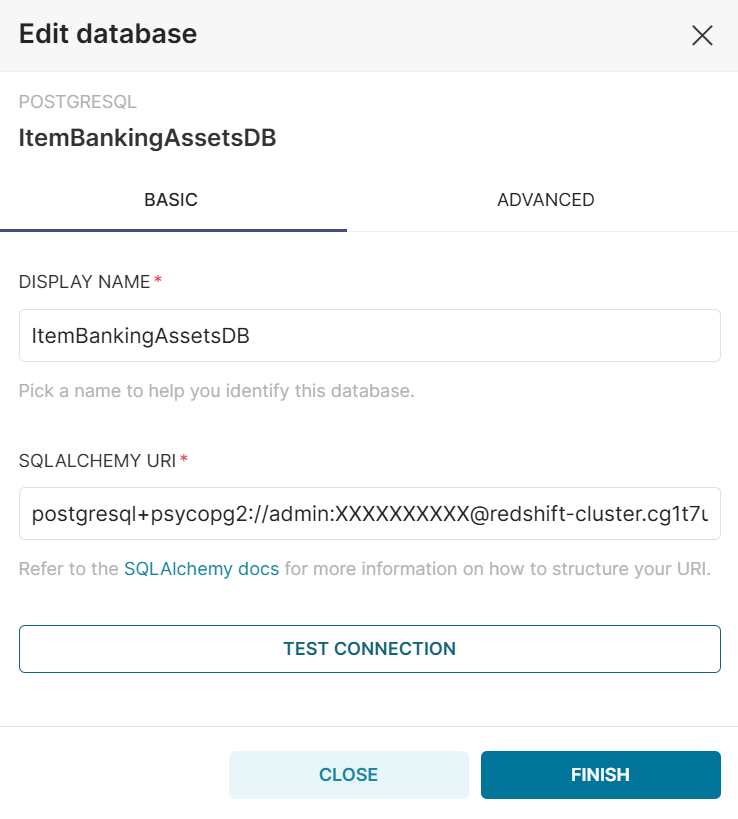
- Under the BASIC tab, provide the Display Name and SQLALCHEMY URI.
- Click TEST CONNECTION to test the connection.
Note: If the Test Connection fails, it means the credentials entered are incorrect. - Click CONNECT to connect to the database. Otherwise, click Back to return to the previous screen.
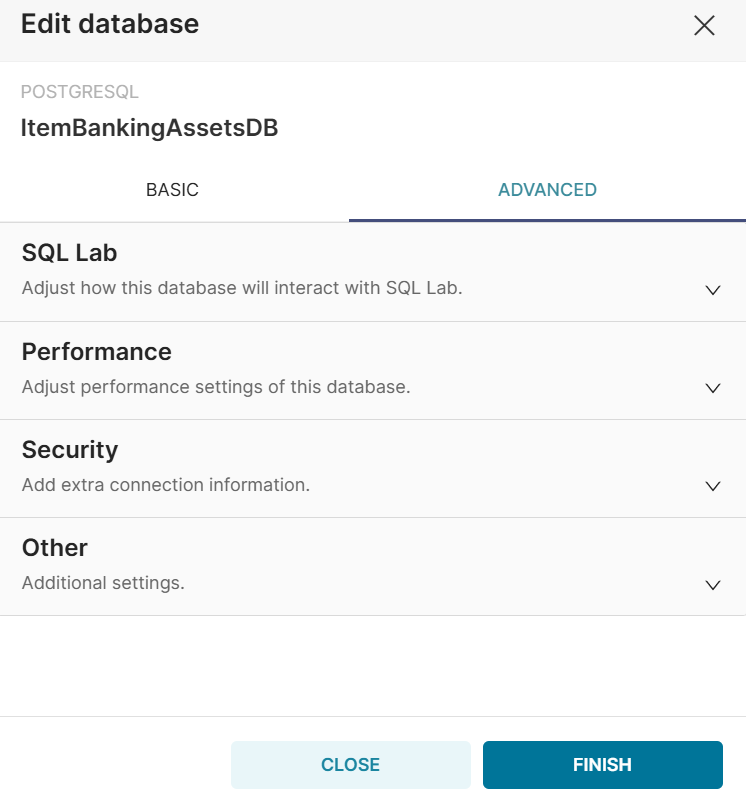
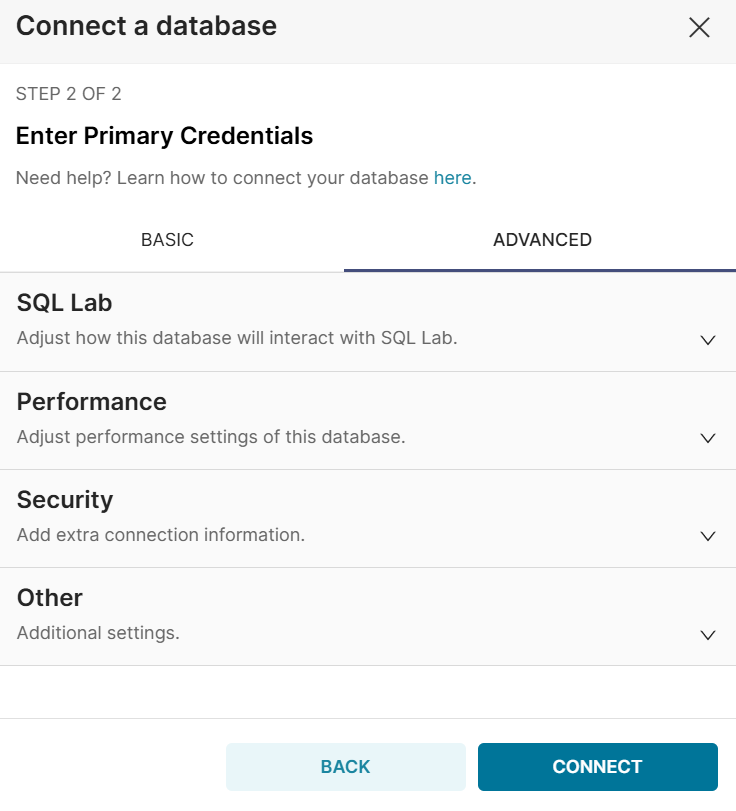
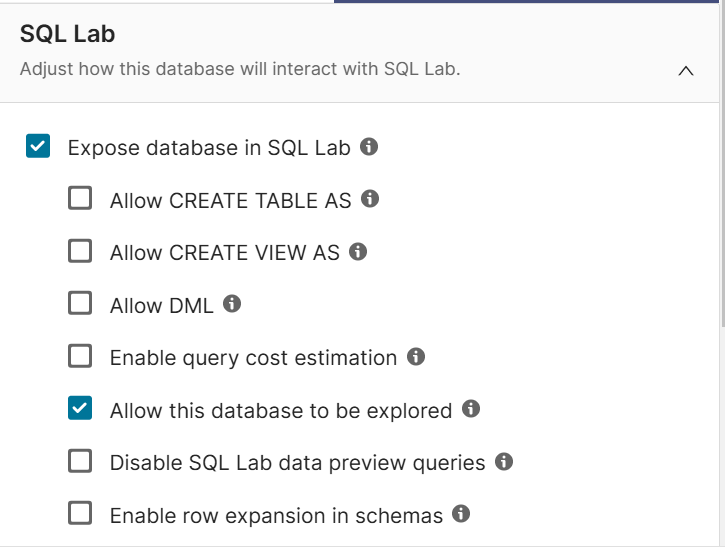
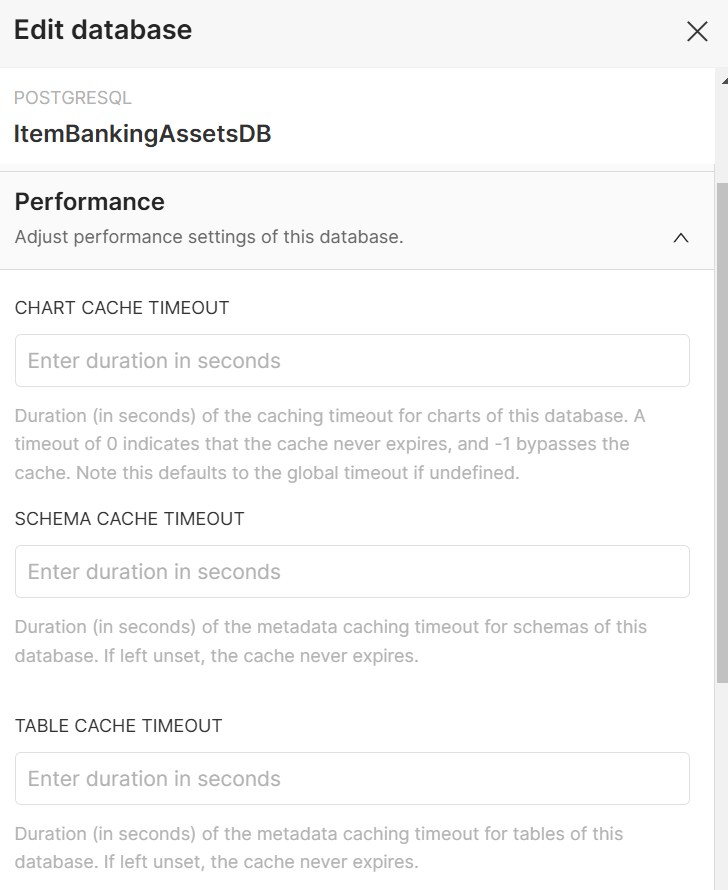
- Click on the Advanced tab to modify settings for SQL Lab, performance, security, and other additional options as needed.
- Click the
icon to expand the SQL Lab and interact with the database in SQL Lab.
- Click the
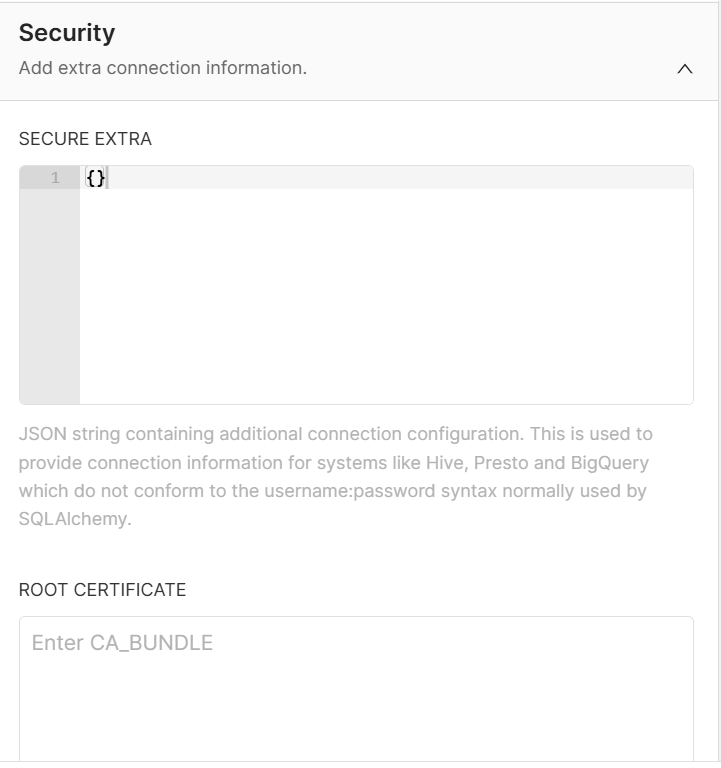
- Click the
icon to expand Security to add extra connection information.
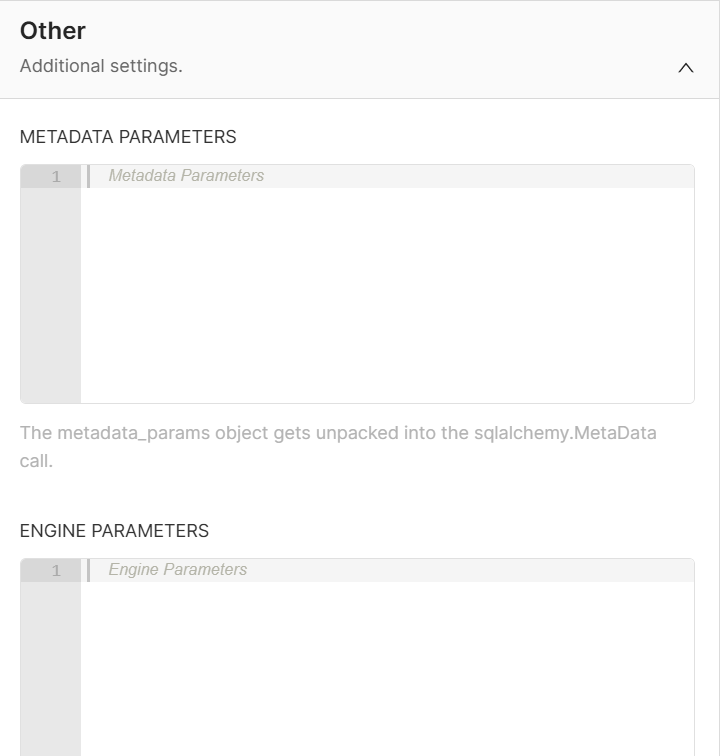
- Click the
icon to expand Others to add additional settings.
- Click the
Note: After adding the database, you can view it in SQL Lab to execute queries.
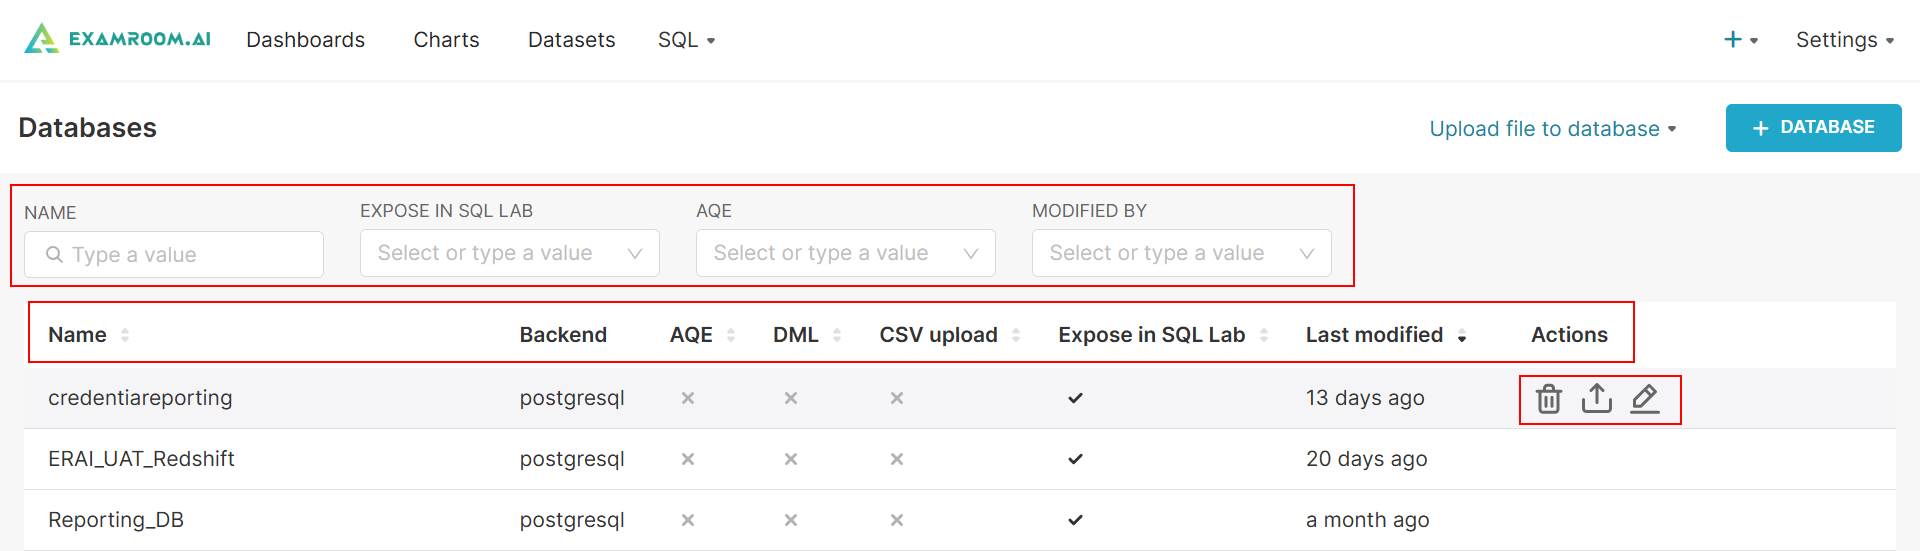
View and Manage Databases
- Click Setting in the top right corner.
- Click Database Connections under the Data section.
- Search or filter the list by entering the Name, or select Expose In SQL Lab, AQE, or Modified By.
- Search columns include:
- Name: The identifier or label for a dataset or table in Workbench.
- Backend: The underlying database or data source connected to Workbench.
- AQE (Adaptive Query Execution): A feature to optimize query execution dynamically based on runtime conditions.
- DML (Data Manipulation Language): SQL commands for querying, inserting, updating, or deleting data.
- CSV upload: The ability to upload CSV files as a data source into Workbench.
- Expose in SQL Lab: Option to make a dataset available for querying in SQL Lab.
- Last modified: The most recent date and time a dataset or resource was updated.
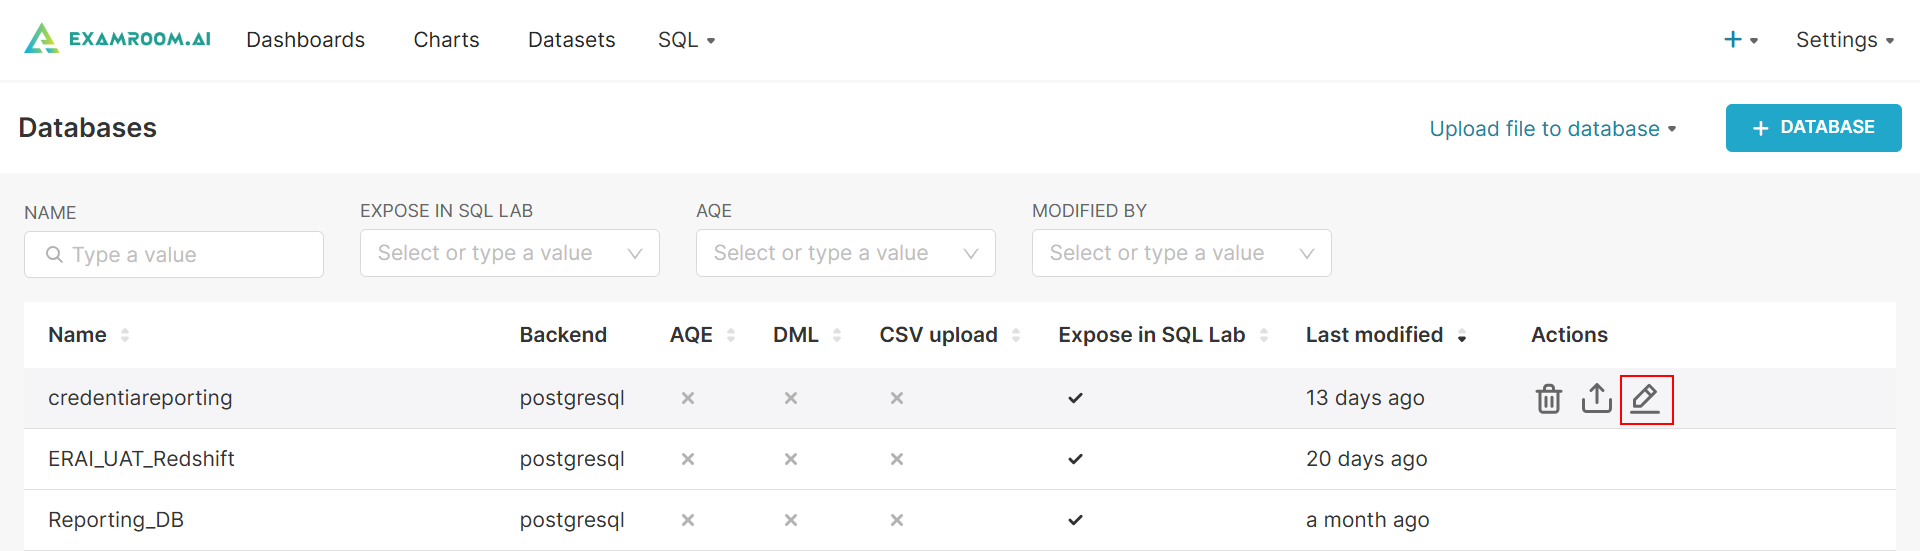
- Actions: A set of operations that can be performed on datasets, such as exporting, editing, or deleting.
- Under the Actions column, you can delete, export, or edit a database.
- Click
Delete icon to delete the added database.
- Click
Export icon to export it into a CSV file.
- Click
Edit to edit the database.
- Click

Edit a database
- From the Database page, under the Actions column, click the
- Under the BASIC tab, you can change the Display Name and SQLALCHEMY URI.
- Click TEST CONNECTION to test the connection.
Note: If the Test Connection fails, it means the credentials entered are incorrect. - Click FINISH to finish to save and exit.
- To configure advanced settings in the database, click on the Advanced section. Here, you can modify settings for SQL Lab, performance, security, and other additional options as needed.