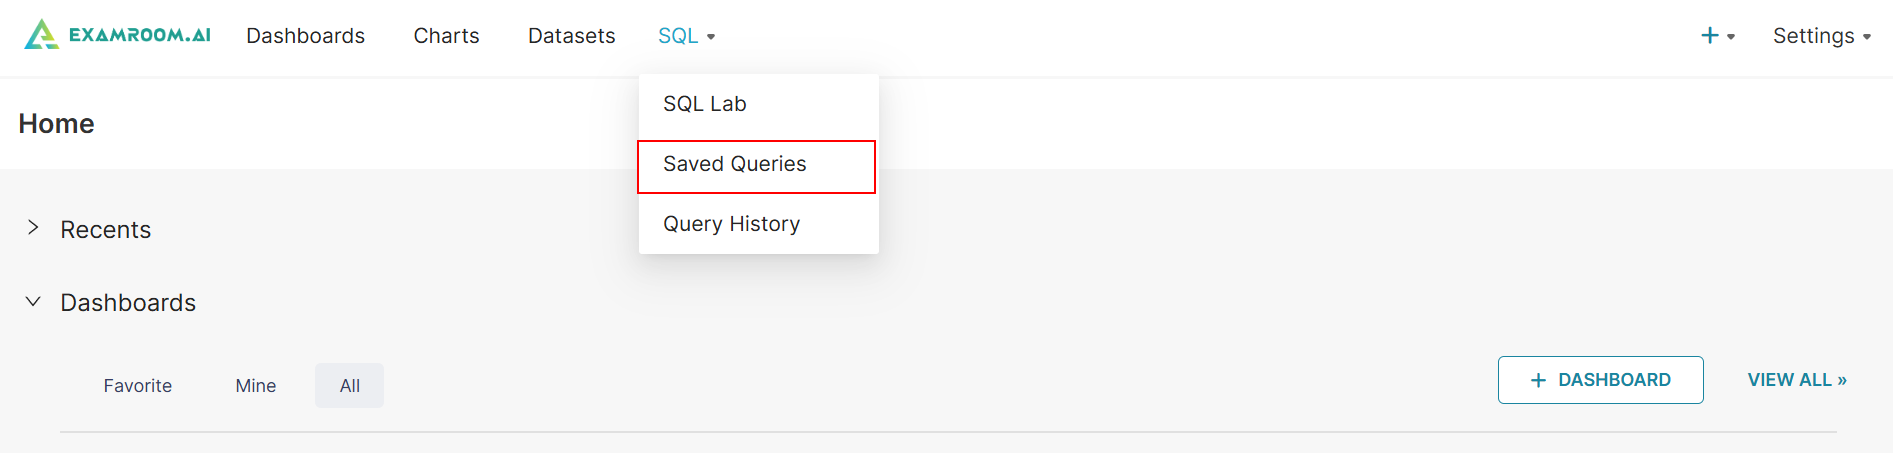
Click SQL in the toolbar and select SQLLab from the dropdown list.
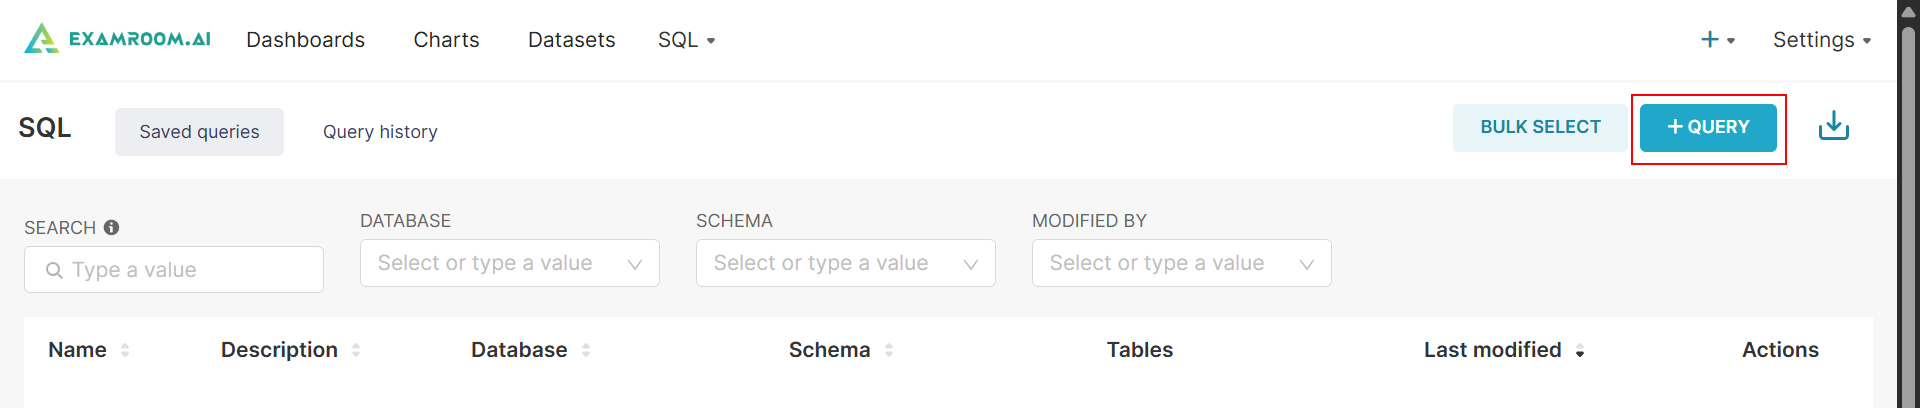
Click QUERY to create a new query.
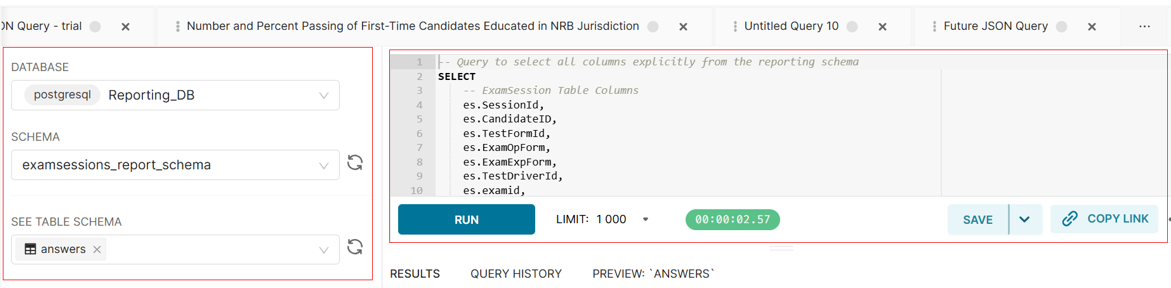
Select the Database, Schema, and SeeTableSchema from the dropdown menu. Note: Based on the database, you can view the schema and examine the table structure, which is already integrated with the database.
Add queries in the query section located on the right side of the screen as needed.
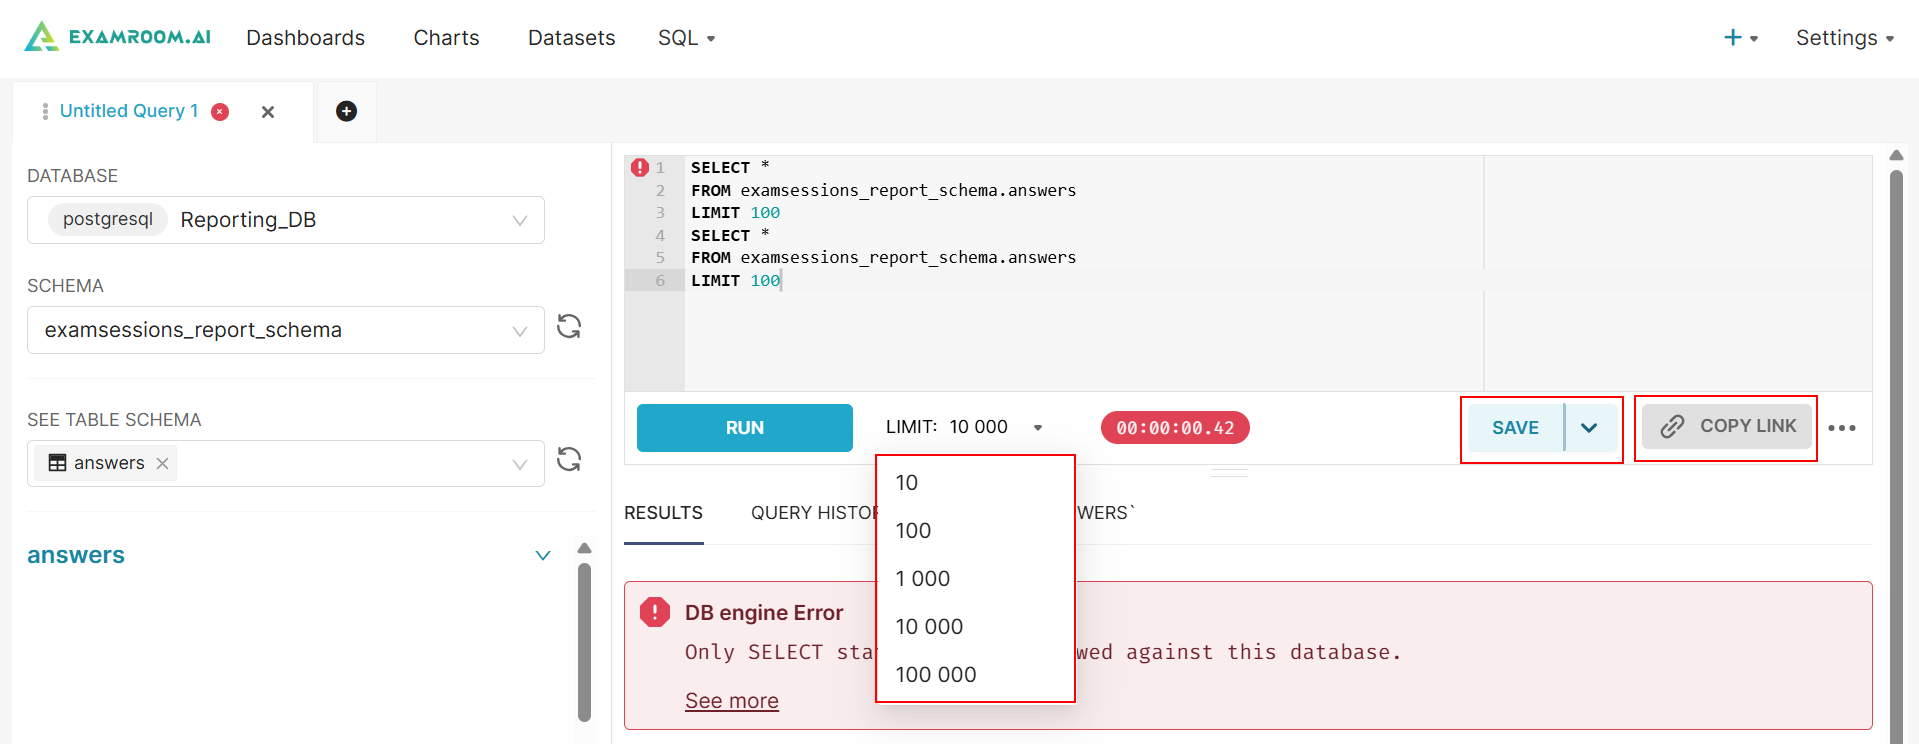
Click Run to run the query.
Set the query limit if required to control the maximum number of records returned by the query, ensuring better performance and resource management.
Click Save and view the query in the saved query list. For more information, refer to Section Saved Query.
Click CopyLink to copy the query link.
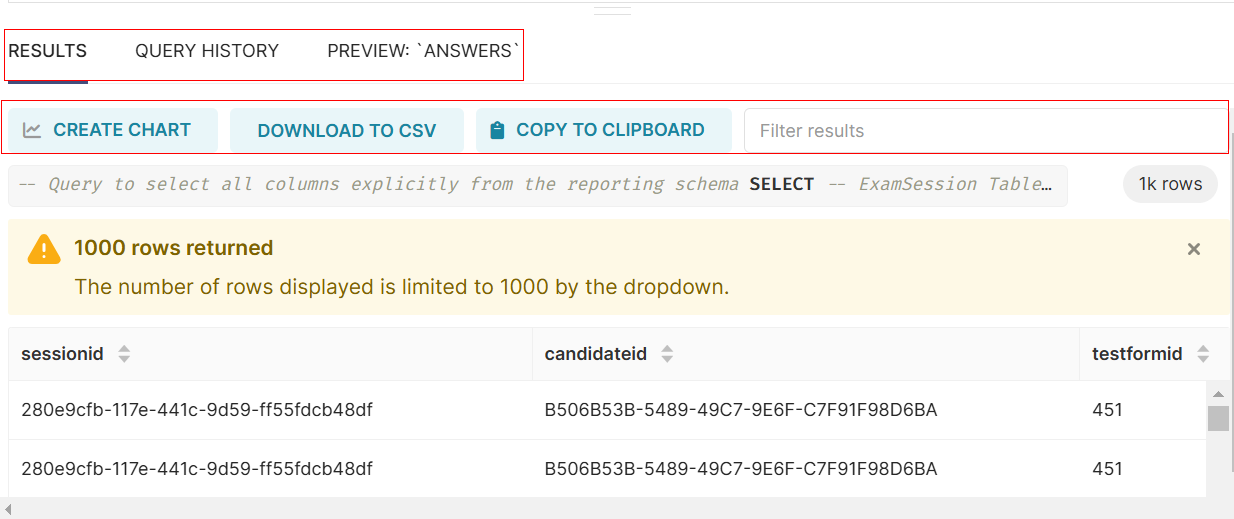
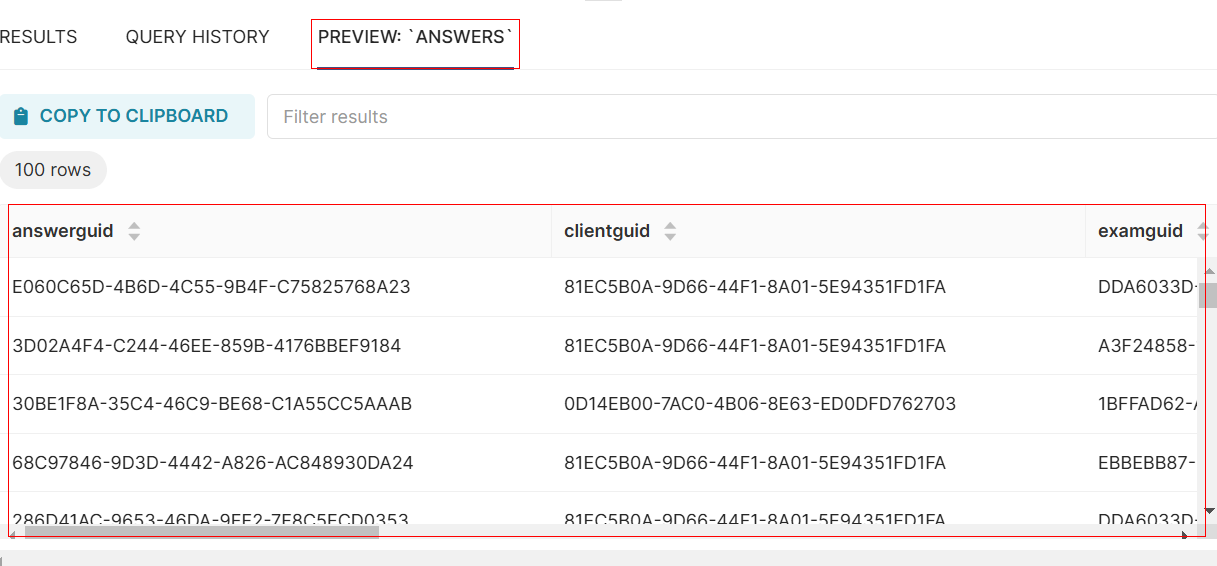
Note: After running the query, you can view the results, query history, and a preview of the executed query.
For refined analysis, click Results, QueryHistory, and Preview tabs.
Click RESULT to view the result of the executed query, including create chart, download to csv, and copy to clipboard.
CREATECHART: Add a chart based on the executed query results.
DOWNLOADTOCSV: Download the query results in CSV format.
COPYTOCLIPBOARD: Copy the query results to your clipboard.
Click QUERYHISTORY to view the query history, including State, Started, Duration, Progress, Rows, SQL, Results, and Actions.
State: The status of the query.
Started: The timestamp indicating when the query execution began.
Duration: The amount of time taken to execute the query.
Progress: The completion percentage of the processed query.
Rows: The number of rows returned by the query.
SQL: The SQL query that was executed.
Results: A preview of the query’s output or the number of records retrieved by clicking on the icon.
Actions: Available options to interact with the query, such as overwrite text, run query in new tab, or deleting the query.

icon.
overwrite text,
run query in new tab, or
deleting the query.