Alerts and Reports
The Add Alert feature allows users to configure and schedule alerts based on custom conditions and queries.
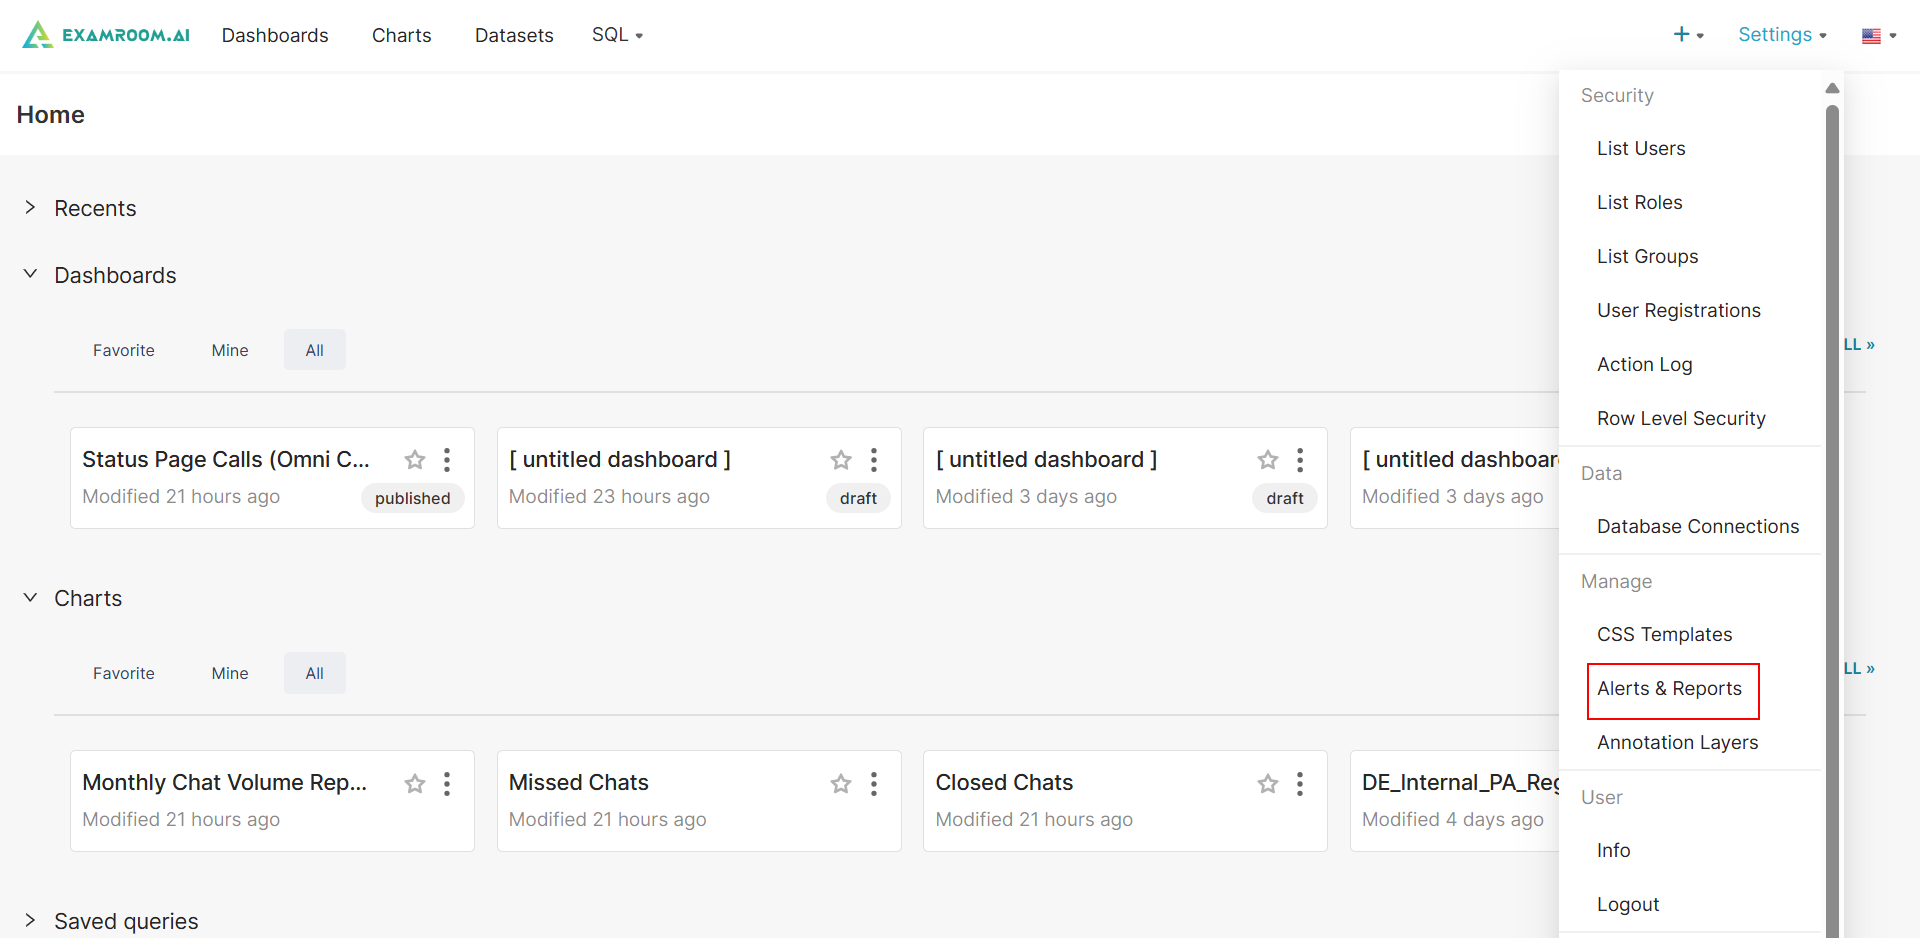
- In the Workbench, click Settings at the top right corner of the screen and click Alerts and Reports to navigate to the list Alerts and Reports section.
Add New Alerts
- Click Alerts and click +ALERT to add a new alert.
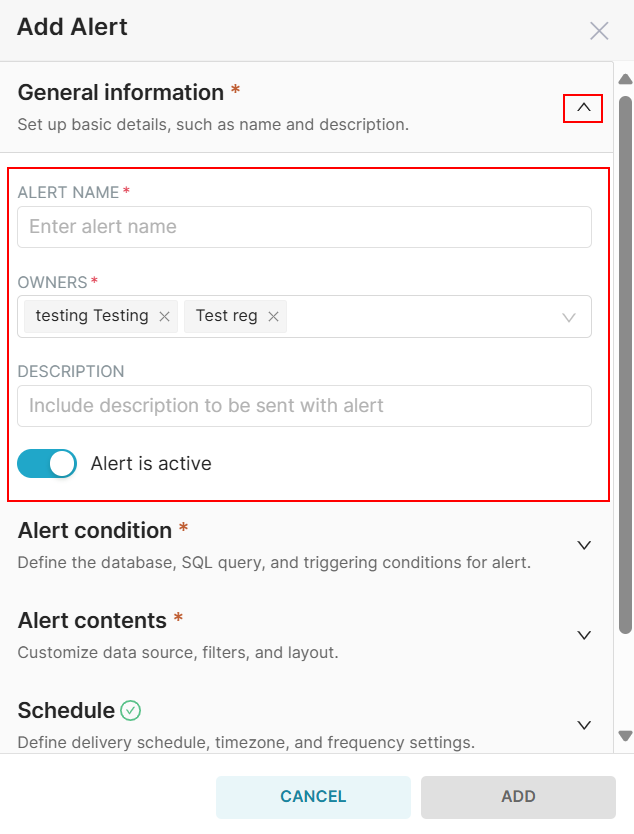
- Click the
arrow to provide the following General Information.
- Enter the Alert Name, Owner and Description of the alert.
- Click the toggle button to enable or disable the alert.
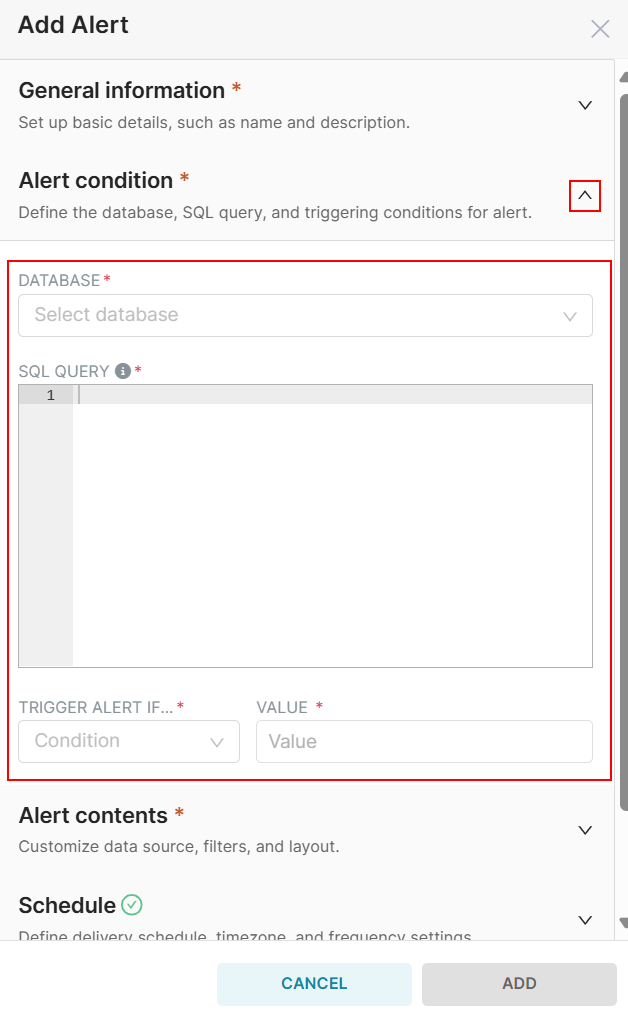
- Click the
- Select the Database from the dropdown list.
- Enter the SQL query that retrieves the data used to evaluate the alert condition.
- Choose the condition type under which the alert should be triggered.
- Enter the Threshold value to compare against the result of your SQL query.
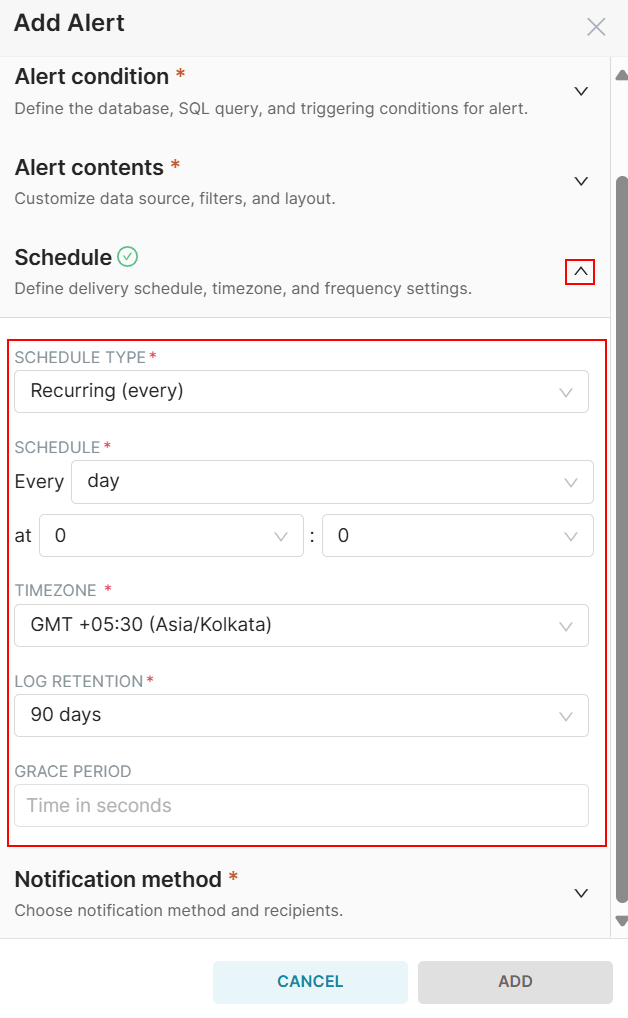
- Click the
- Select Schedule Type from the dropdown.
- Under the Schedule field defines the recurrence intervals.
- Select the Timezone in which the alert time should be interpreted.
- Select Log Retention period to specify how long the alert execution logs should be retained.
- Enter the Grace period in seconds during which the alert won’t trigger again, even if conditions are met.
- Click the
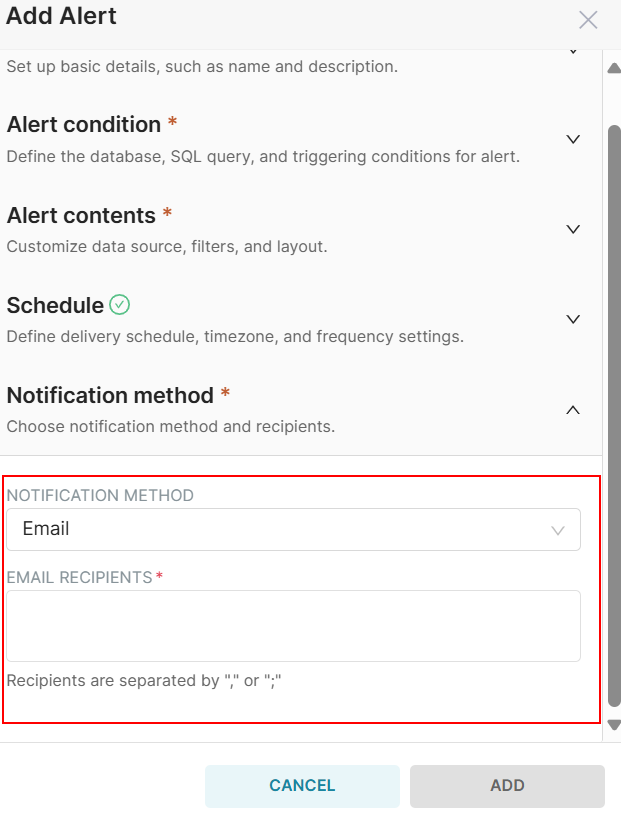
- Select Notification Method from the dropdown menu.
- If u select Email from the Notification method dropdown then enter the Email of the recipients.
- Click Cancel to discard the alert configuration.
- Click Add to save and activate the alert based on the specified settings.

Add Report
- In the Alerts & Reports section, click the Reports option and click the +Reports button to add a new report.
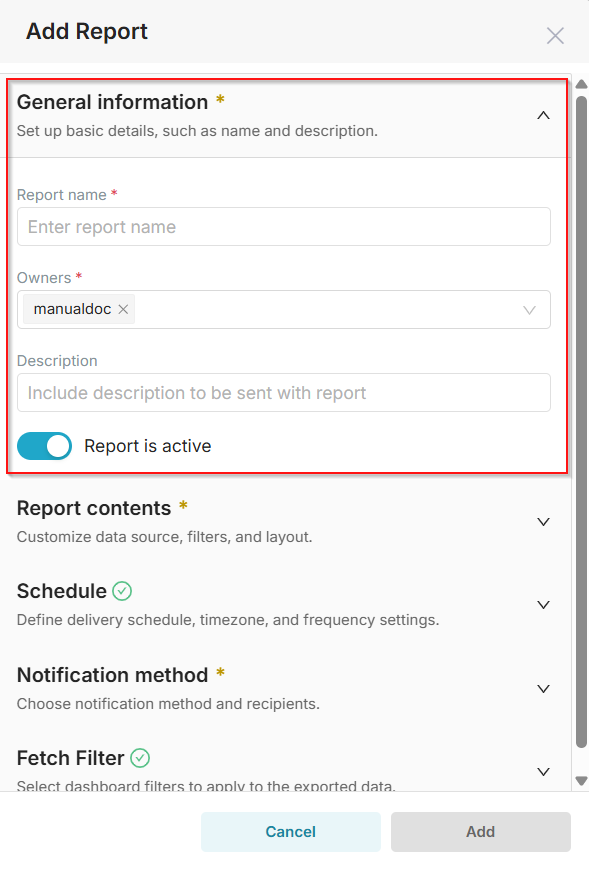
- To add a report, you must fill out all the mandatory sections. First, fill in the general information section.
- Click the
- Enter the Alert Name, Owner, and Description of the alert.
- Click the toggle button to activate or deactivate the report.
- Click the
- Click the
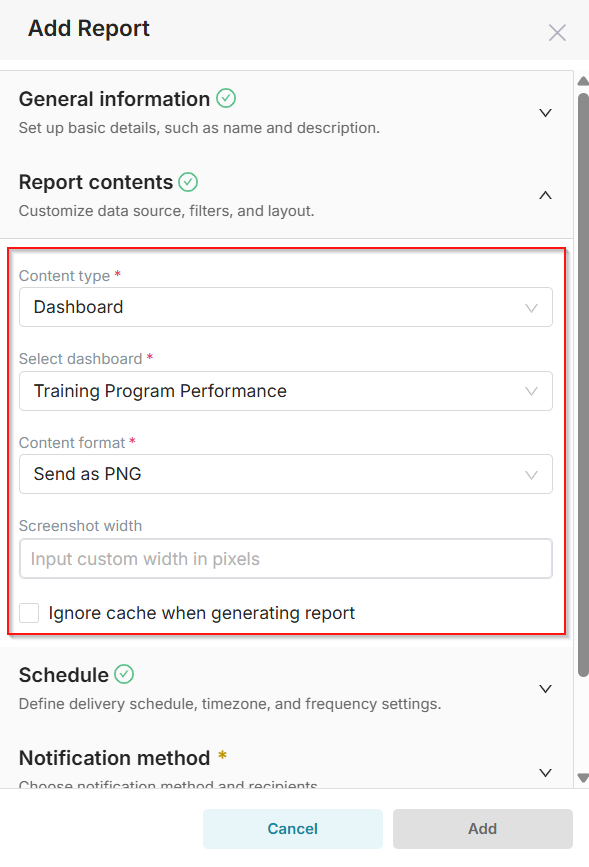
- Choose the type of content to include in the report.
- Choose which dashboard will be used to generate the report.
- Define a custom width (in pixels) for the screenshot of the dashboard.
- When checked, this option forces the report to fetch fresh data, bypassing any cached results.
- Click the
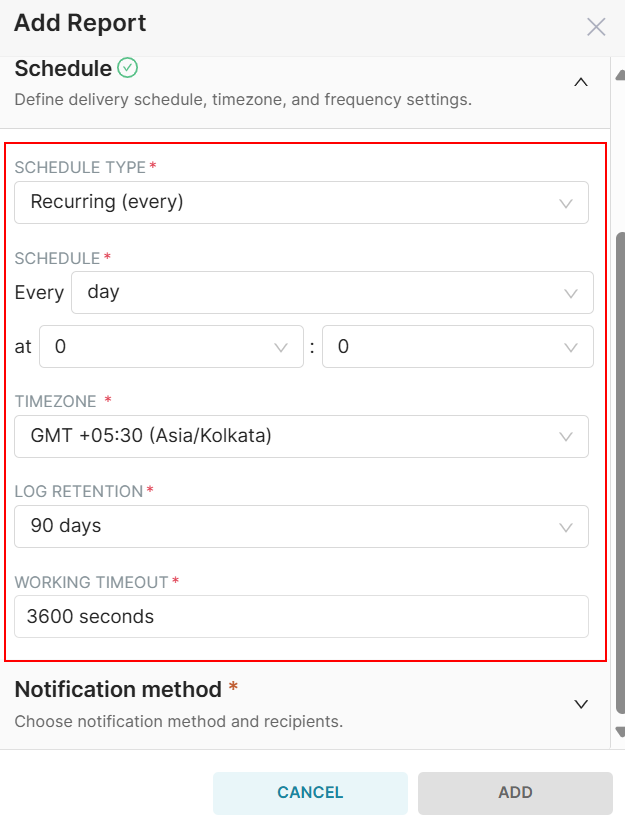
- Select Schedule Type from the dropdown.
- Under the Schedule field defines the recurrence intervals.
- Select the Timezone in which the alert time should be interpreted.
- Select Log Retention period to specify how long the alert execution logs should be retained.
- Enter the Grace period in seconds during which the alert won’t trigger again, even if conditions are met.
- Click the
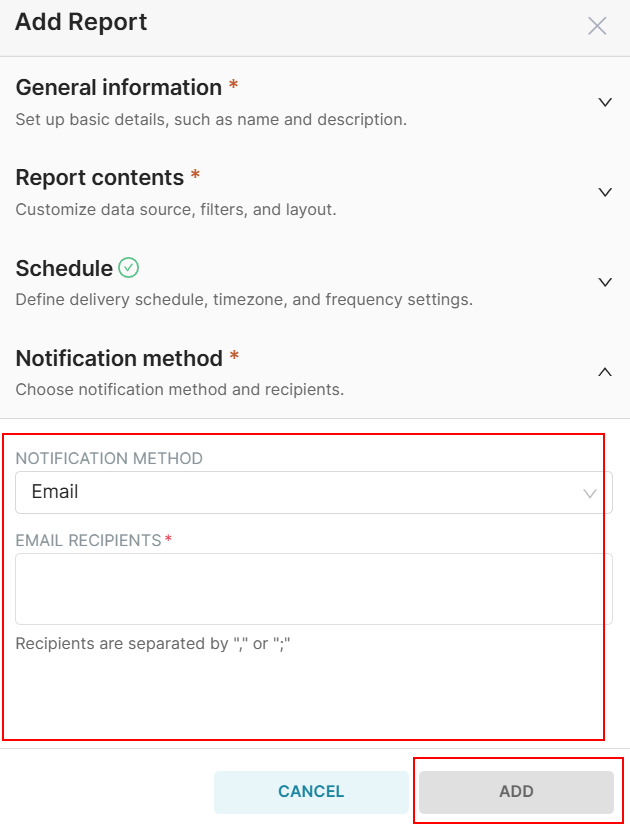
- Select Notification Method from the dropdown menu.
- If u select Email from the Notification method dropdown, then enter the Email of the recipients.
- Click Cancel to discard the alert configuration.
- Click Add to save and activate the alert based on the specified settings.